
How to Shave with a Safety Razor to Prevent Razor Bumps
Razor bumps turn daily grooming into a nightmare for millions of men. Those modern multi-blade cartridges that promise comfort? They're often the culprit—especially if you have coarse or curly hair. The real solution isn't the latest five-blade innovation. It's going back to what actually works: the safety razor.
A safety razor uses one sharp blade to cut hair cleanly without the tugging and pulling that creates ingrown hairs. While cartridge razors drag multiple blades across your face, safety razors demand better technique but reward you with dramatically fewer razor bumps.
Here's how to master safety razor shaving and eliminate razor bumps for good.
Why Safety Razors Beat Cartridges at Preventing Razor Bumps
Here's what happens with razor bumps: Multi-blade cartridges lift each hair and slice it below skin level, creating sharp points that curl back and pierce your skin as they grow. Men with naturally curved hair follicles face almost guaranteed ingrown hairs.
Safety razors cut hair right at skin level in a single pass. No lifting, no stretching—just a clean cut that lets hair grow out naturally instead of curling back into your skin. The result? Less inflammation, fewer ingrown hairs, and smoother skin.
This difference is most dramatic for men with coarse, thick, or curly hair. A single blade handles tough whiskers without the clogging and tugging that makes cartridge shaving miserable for textured hair.
Essential Equipment for Safety Razor Shaving
The Safety Razor
Start with a razor that has adjustable settings or moderate aggression. Beginners need a mild razor that won't punish technique mistakes. The Merkur 34C or Edwin Jagger DE89 balance forgiveness with effectiveness perfectly.
Weight matters more than you'd expect. Heavier razors need less pressure because gravity does the work. Let the razor's weight guide the blade instead of pressing down.
Razor Blades
Blade choice is personal, so start with sampler packs. Good beginner options include Feather (very sharp), Derby (mild), and Astra Superior Platinum (balanced).
Sharp blades actually cause less irritation than dull ones. A sharp blade slices through hair cleanly, while dull blades pull and scrape. Replace blades after 3-5 shaves or whenever you feel tugging.
Shaving Brush and Cream
A quality brush lifts hair and creates the rich lather that protects your skin. Synthetic brushes perform excellently without the break-in period of badger hair.
Your shaving cream or soap provides crucial lubrication and protection. Look for natural moisturizers and anti-inflammatory ingredients. Quality preparation makes the difference between comfort and razor burn.
Pre-Shave Preparation: Your Foundation for Bump-Free Shaving
Soften Your Whiskers
Hot water is your first line of defense. Grab a hot shower or press a hot, damp towel against your face for 2-3 minutes. This softens whiskers and opens pores, making hair much easier to cut cleanly.
Want extra protection? Massage a few drops of pre-shave oil into damp skin. It creates another barrier between blade and skin while softening even the toughest whiskers.
Map Your Grain
Understanding your hair growth patterns prevents irritation. Feel around your face to figure out which direction hair grows in different areas. Your cheeks might grow downward, your neck upward, and the area around your jawline could go sideways. Against-the-grain passes deliver the closest shave but can irritate sensitive skin. Start by following the grain, then work up to cross-grain passes as your technique improves.
Step-by-Step Safety Razor Technique
Building Perfect Lather
Soak your brush in hot water while you prep your face. Shake out the excess—you want it damp but not dripping.
Load the brush with cream or work up lather in a bowl. You're after thick, creamy lather that won't disappear mid-shave. Thin, bubbly lather vanishes when you need protection most, leaving your skin vulnerable.
Work the lather in circular motions, then finish with painting strokes to flatten the hair. Cover everything—no patches of bare skin should show through.
First Pass: With the Grain
Hold the razor at a 30-degree angle to your skin—this cuts efficiently without scraping. Too steep and the blade chatters; too shallow and it won't cut properly.
Use short, overlapping strokes rather than long sweeps. Let the razor's weight do most of the work. You only need enough pressure to keep the blade touching your skin. The razor should glide smoothly without any dragging.
Start with your cheeks since they're the easiest area to learn on. Work methodically across your face, keeping the same angle and pressure. Don't go over the same spot twice without adding more lather.
Rinsing and Re-Lathering
Rinse with cool water to remove cut whiskers and remaining lather. Pat dry gently—rubbing irritates freshly shaved skin.
Apply fresh lather for your second pass. This isn't optional. Shaving over bare or inadequately lubricated skin guarantees irritation and razor bumps.
Second Pass: Across the Grain
Shave perpendicular to hair growth direction. This gets you closer than with-the-grain while being gentler than against-the-grain.
Stick with the same technique—proper angle, light pressure, short strokes. Be extra careful around problem areas like the neck, where skin is more sensitive and hair grows in unpredictable patterns.
Optional Third Pass: Against the Grain
Only try this once you've nailed the first two passes. Against-the-grain provides the closest possible shave but requires excellent preparation and technique to avoid irritation.
Use an even lighter touch. The blade should barely contact your skin. If you feel any tugging or resistance, stop immediately and check your angle and pressure.
Post-Shave Care to Lock in Results
The Cold Water Rinse
Rinse thoroughly with cold water immediately after your final pass. Cold water closes pores, stops minor bleeding from small nicks, and provides immediate soothing relief.
Aftershave Treatment
Pat your face dry with a clean towel. Apply an alcohol-free aftershave balm designed to prevent ingrown hairs and razor bumps.
Salicylic acid gently exfoliates to prevent trapped hairs, while natural anti-inflammatories like aloe vera and chamomile soothe irritation. Quality aftershave products make the difference between occasional irritation and consistently smooth results.
Troubleshooting Common Safety Razor Problems
Razor Burn and Irritation
Burning or redness usually means you're pressing too hard or holding the razor at the wrong angle. Focus on lighter pressure and ensure the razor head maintains proper skin contact.
Check your blade sharpness. Dull blades cause more irritation because they require more pressure and multiple passes over the same area.
Nicks and Cuts
Small nicks happen when you're learning. This usually comes from pressing too hard or repeatedly going over the same area.
Keep a styptic pencil or alum block handy to stop bleeding immediately. Both also help prevent infection.
Inconsistent Results
Consistent results come from consistent technique and attention to detail. Stick to the same routine—same prep, same products, same approach. Take notes on what works until it becomes automatic.
Advanced Techniques for Stubborn Areas
Dealing with the Neck
Your neck presents unique challenges because the skin moves more and hair grows in unpredictable directions. Use an extra-light touch and consider stopping at cross-grain passes instead of going against the grain.
Pull the skin taut with your free hand to create a smoother surface. This prevents the razor from catching loose skin and reduces nicks.
Managing Coarse Hair
If you've got really thick or wiry hair, you'll need more prep time. Try pre-shave oil and leave that hot towel on longer to really soften things up.
Once your technique improves, you might want a more aggressive razor. Adjustable razors help you dial in the perfect setting for your particular hair type.
Building Your Complete Routine
Daily Maintenance
Take care of your skin even on non-shaving days. Gentle cleansing and moisturizing maintain the progress you've made. Exfoliate twice weekly to prevent dead skin from trapping hairs.
Product Selection
Choose products that work together. A complete system—proper prep, quality cream, effective aftercare—delivers better results than mixing random products from different brands.
Long-Term Benefits
Consistent safety razor shaving improves your skin over time. Your skin adapts to the routine and becomes less reactive. Many men eventually master comfortable against-the-grain shaves that would have been impossible with cartridge razors.
Making the Switch Permanent
Moving from cartridge to safety razor requires patience and practice. Expect a 2-4 week learning curve as you develop proper technique and find the right products for your skin and hair type.
Start gradually—maybe just weekend shaves—then move to daily safety razor use as your confidence builds. The time and effort you invest pays off with better skin, fewer razor bumps, and a more enjoyable shaving experience.
Safety razor shaving goes beyond just preventing razor bumps. It's about taking control of your grooming routine with a method that works with your skin instead of against it. Master these techniques, pair them with quality products designed to support the process, and discover what smooth, bump-free skin actually feels like.
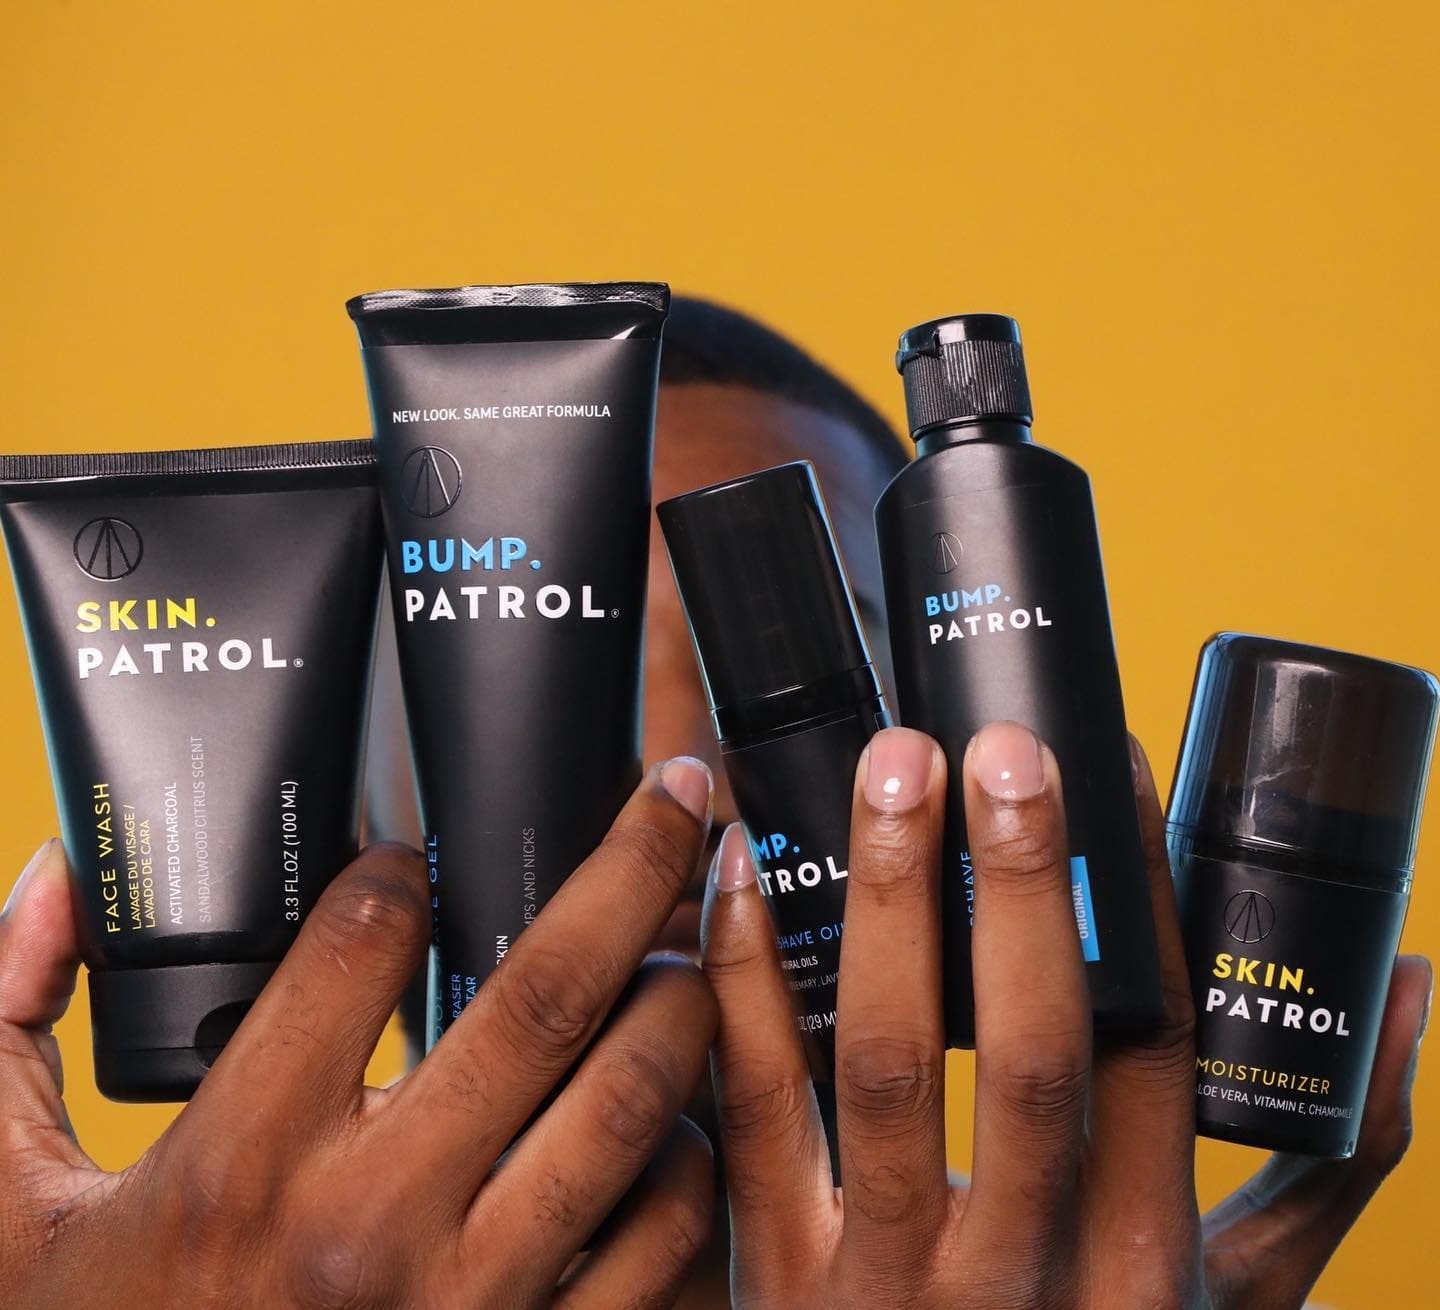
Ready to transform your shaving routine? Learn more at patrolgrooming.com and find the complete system of products designed to support your safety razor journey.